

So you’ve heard about drone mapping, and you want to try it yourself, but you don’t know how to start. This step by step guide will help you do the first step. Basic level drone mapping is easier than you think. In fact, if you own one of the popular models of DJI Phantom 3, 4 or Mavic Pro (and there is a big chance you do) most of the stuff will happen automatically.
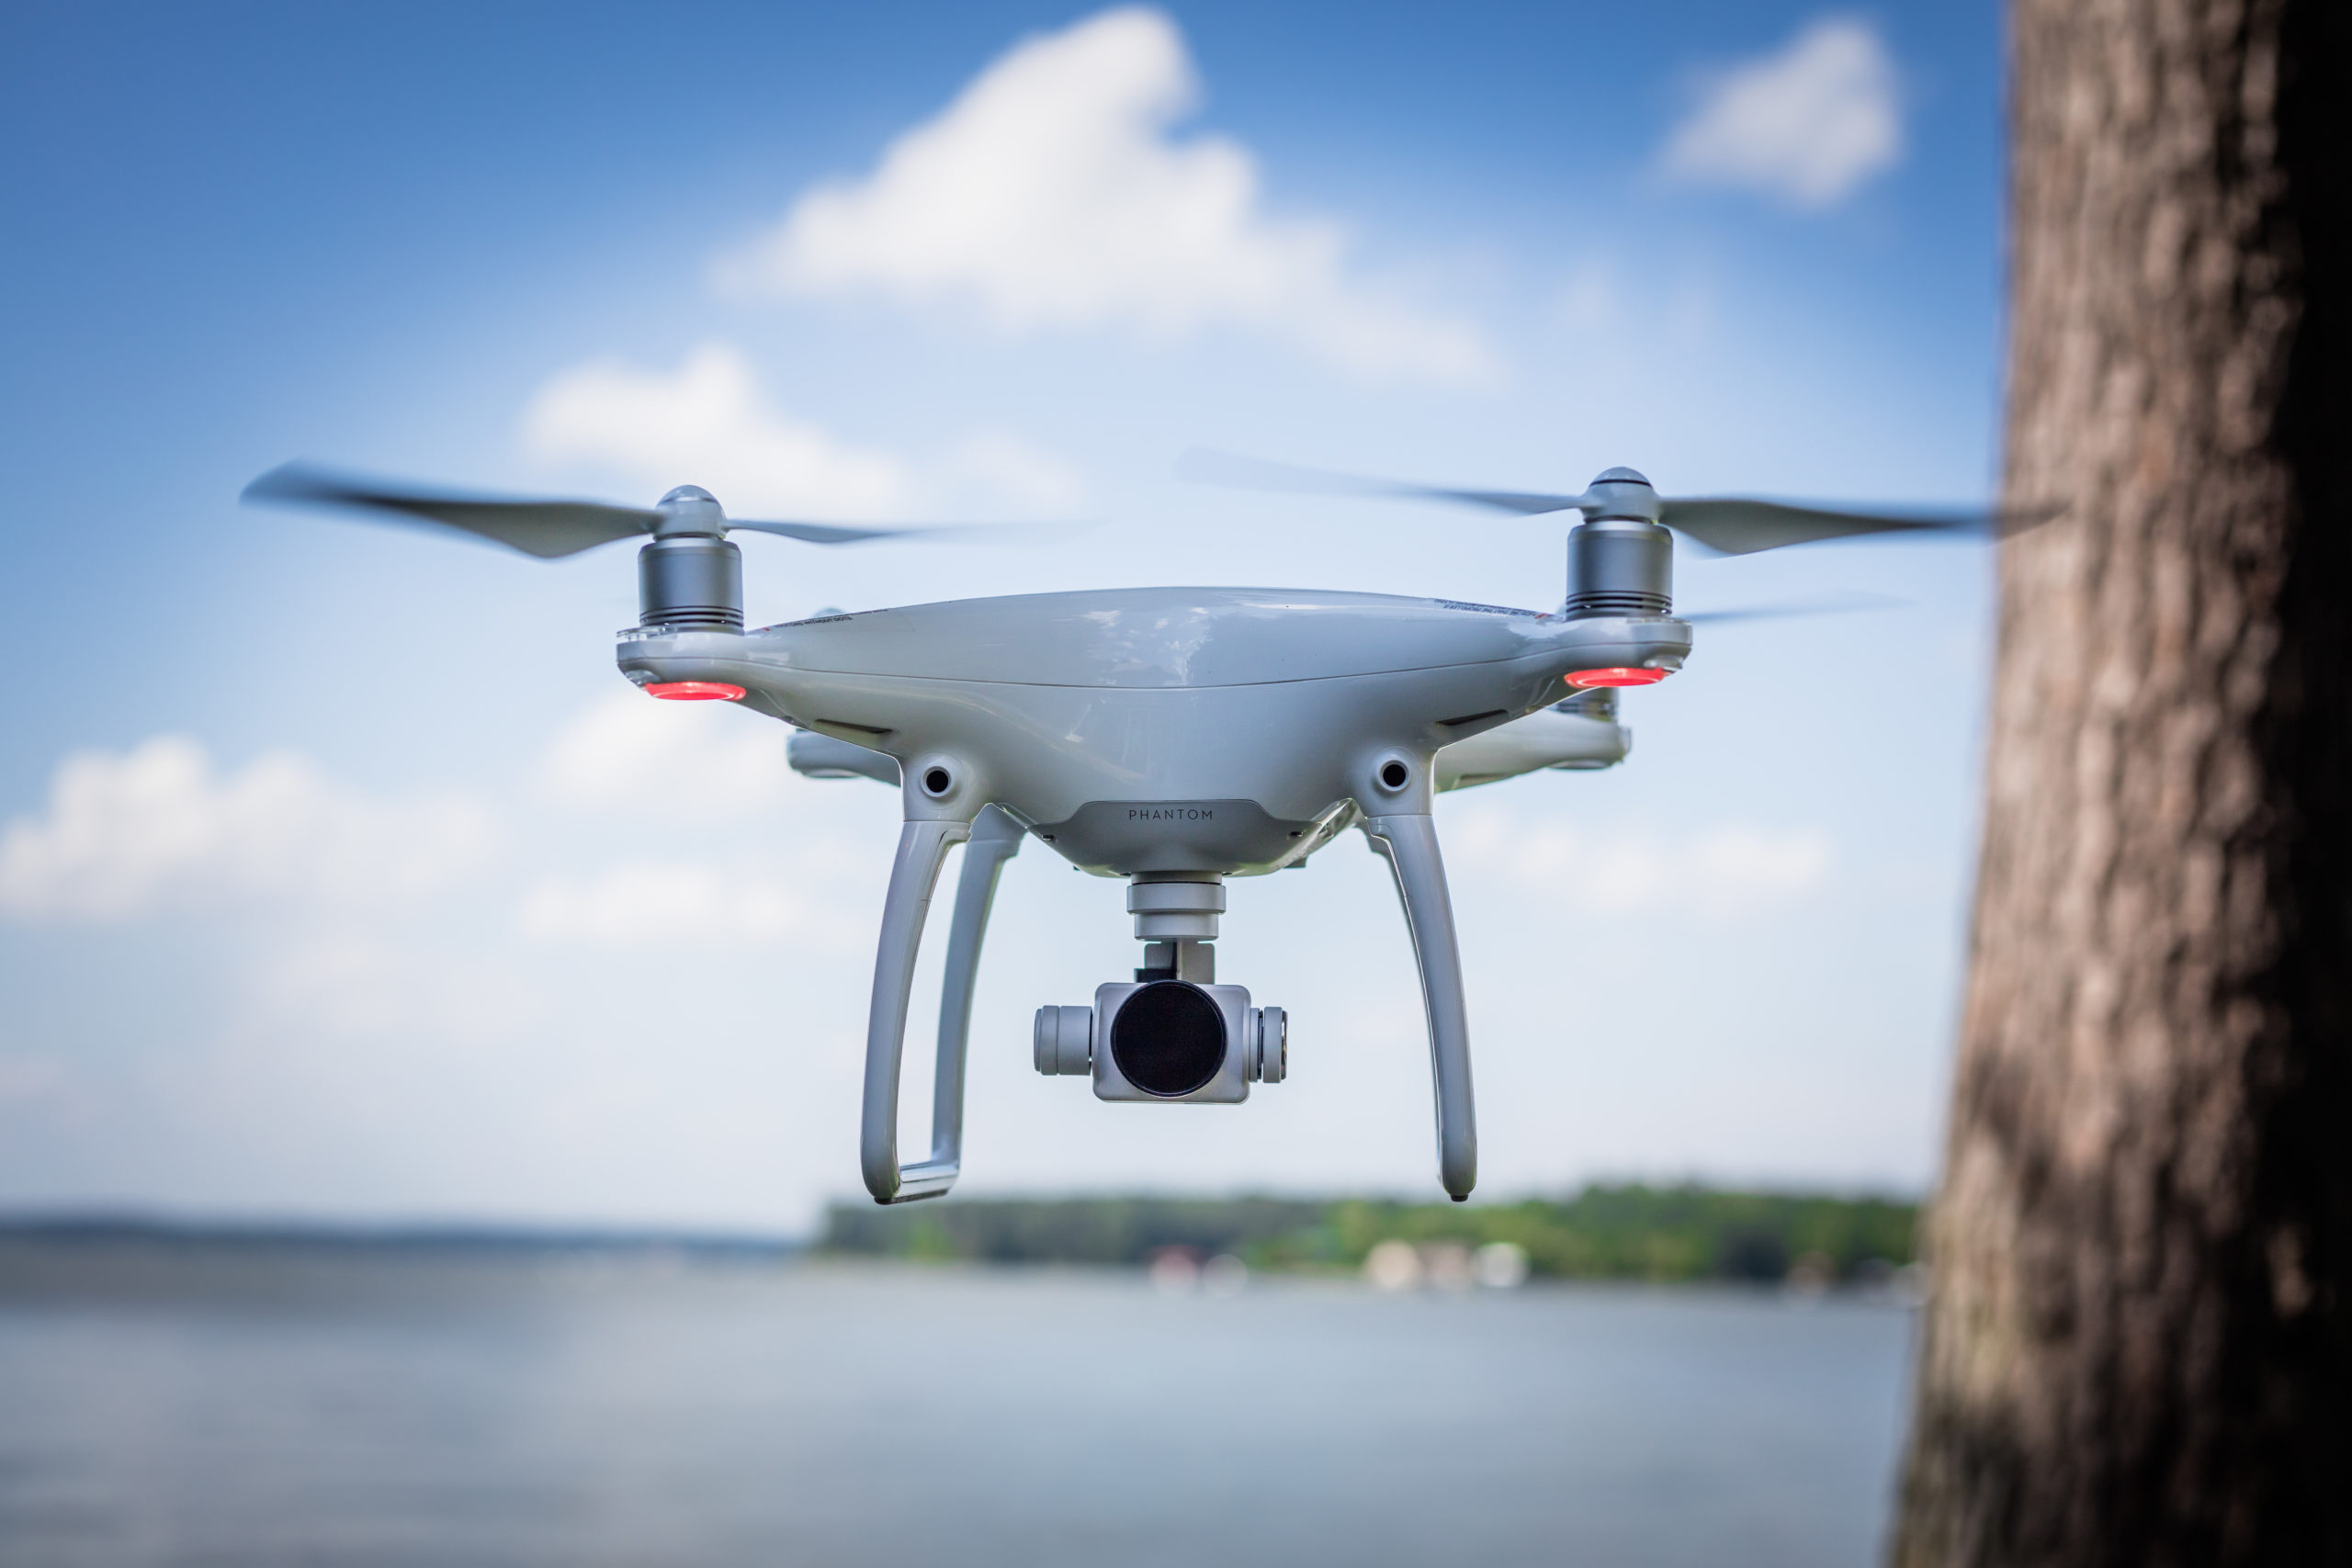
1. Selecting your drone.
The first thing is to select your UAV. The selection of drones on the market is huge but if you search for a drone that will be both: fun to use after hours and good enough for professional applications there is only one choice you should consider – one of DJI’s quadcopters (Phantom 3, 4 or Mavic Pro). They are affordable (you can get Phantom 3 for less than $400), they come with a built-in camera, and there are plenty of useful smartphone apps that support DJI’s copters.
2. Selecting your drone mapping ecosystem
Once you got your DJI drone ready it’s time to choose a “mapping solution” that comprises of a smartphone app and a web platform. The app will help to plan your flight properly, and it will take over the control of your DJI drone to automatically complete the survey. After the flight, you will have to transfer the data from your UAV to a computer. To do that you need to take the micro SD card out from your drone, connect it to a computer and upload collected data to a web-based tool that will process the data and let you view and analyze the final output.
The entry level products of a drone survey are othomosaics, which are essentially stitched together areal images from your drone, transformed to be cartometric, as well as 3D models and point clouds. The basic idea behind it is similar to 3D movies. If you take images of the same object from at least two perspectives, you will get a stereoscopic 3D view. That’s why the images from your drone must significantly overlap.
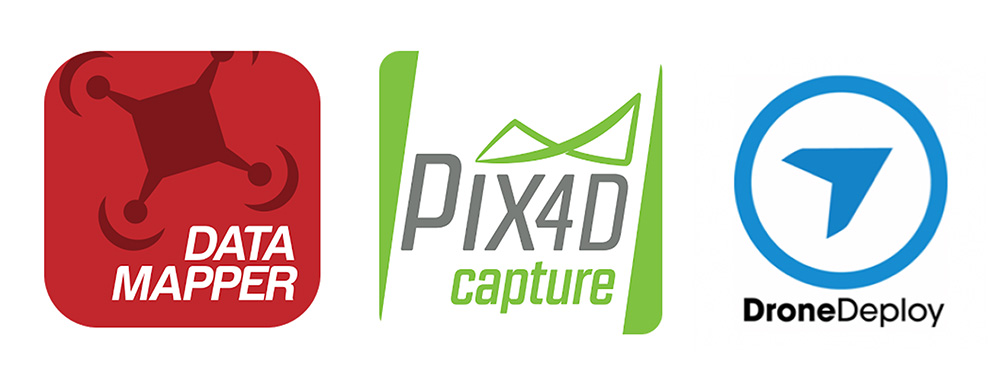
The top three most popular drone mapping platforms out there are Pix4D, Drone Deploy, and Data Mapper. Each of them offers both: the app and the web-based tool.
TIP:
The apps and the online platforms are not connected, so can mix different solutions.
Although each of these tools will do the job equally well, for the entry-level UAV mapping, we recommend you the Data Mapper app. It’s the easiest and the most straightforward, it’s not packed with features but it will do the job well, and there are not too many things you can do wrong using it.
3. Planning your flight
Your main concern when flying a drone should be safety. For your first mapping project select an area without trees and high structures and never fly above people. The area of the project should not be too large and too small. 100x100m (or 300x300ft) should be just fine.
Once you’ve selected the area or a structure you want to map and you’ve installed Data Mapper on your smartphone, it’s time to make use of the app and plan the flight.
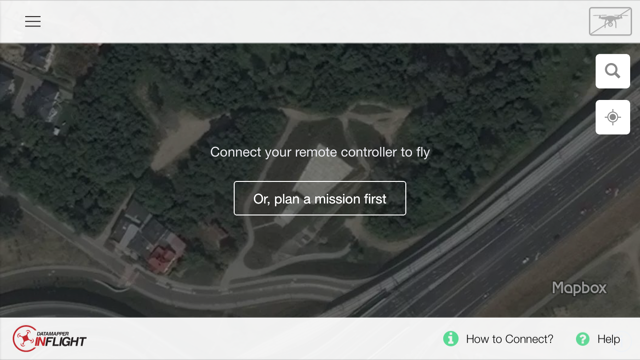
It’s very easy, and you can do it in the field or at home. When you start the app (without any logging), it will ask you to plan your flight.
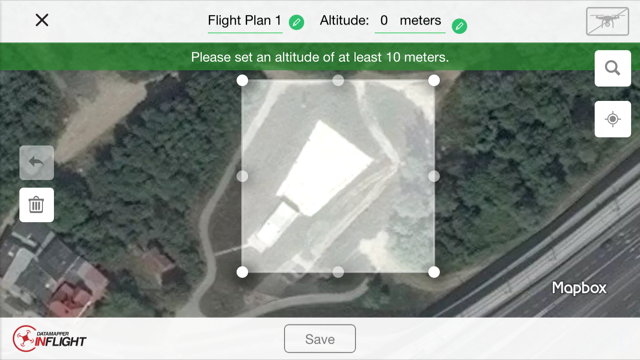
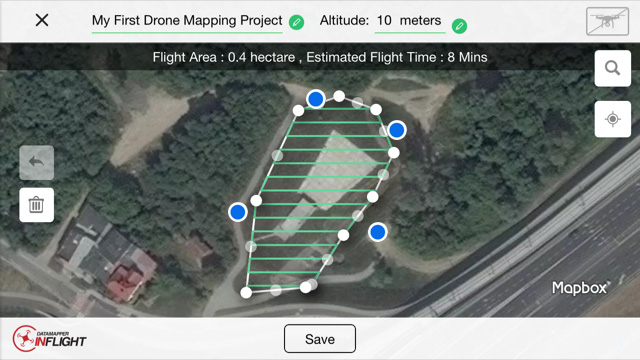
You need to click on the square on the left side of the screen, and the scope of the flight will pop up on the screen. Now you need to adjust it and draw the area you want to map.
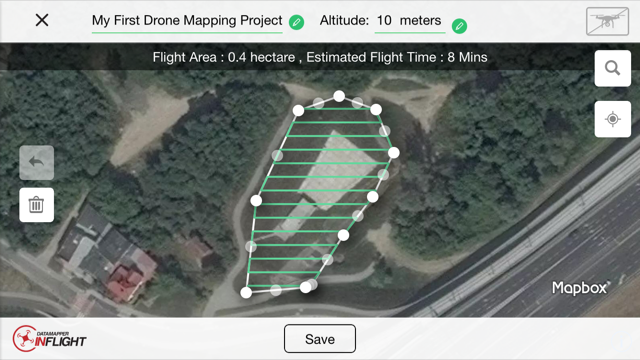
You can do it based on satellite images, but I’ve noticed that for some locations the images might be old, and it might be difficult to do the planning properly. Error in the planning might cause crushing your drone and causing damage, so you need to be sure that the scope selected in the app is exactly fitting with the area you want to map in the real world. If the satellite imagery is old or there is a risk that by choosing a wrong scope you can crash your UAV there is a trick you can do.
TIP:
When being in the field, the app will display your selected flight plan but also your location with a blue dot. Walk around the selected area and based on the location of your blue dot verify and adjust the scope of your project.
One of the most important parameters is the altitude of your flight. The lower the altitude, the more images your drone has to take to survey chosen area, the longer it will take to complete the survey and the more time and resource consuming the data processing. The altitude will also influence a pixel size. The reasonable approach is to relate the altitude to the size and height of your project area as well as expected accuracy. For a small area of below 100x100m (300x300ft) the flight at the altitude of 10 meters will take almost 10 min and will generate 150 images. Selecting altitude of 30 meters will shorten the flight time to 2 min and decrease the number of images to 50. Knowing that the battery life will last a little over 20 min you can estimate what sort of area you can map on a single charge.
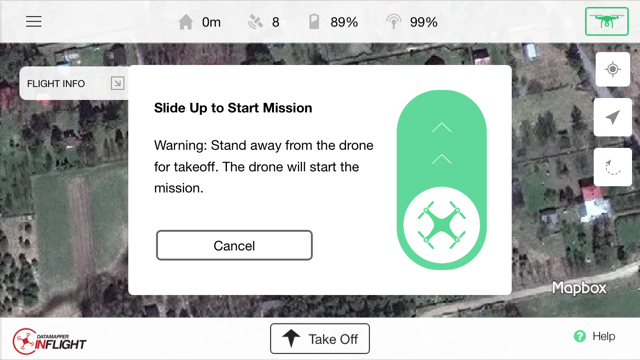
4. Take off
To take off you need to connect a smartphone to your DJI drone and simply tap on “Fly”. Confirm and take off.
TIP:
The app is controlling the trajectory of your flight and camera angle but it will not adjust the camera lighting settings. It will be the same as you left it the last time you’ve used your drone. It makes sense to verify and adjust the camera lighting settings via DJI Go app before your take off with Data Mapper app.
Now the drone will automatically take off and complete the survey based on the selected scope. Once the survey is completed, or your device is running out of power the app will make your UAV come back to the starting point or land right where it is.
TIP:
If you are mapping structures like buildings, it’s recommended to capture some additional photos of these locations from different angles. It will make the 3D model look much better. To do that, you can select automated DJI’s mode “Point of Interest” or do it manually using DJI Go app making sure that you capture all the details of the structure on a fairly low altitude.
5. Review your photos
If you have an opportunity to review the images still in the field, please do that. Particularly, in the beginning, it will save you a lot of time. During my first flight, I had to go back to the field twice to get the effect I wanted to have. You can also use that time to remove irrelevant images before processing. Pictures of the sky or taken at a strange angle might negatively influence the final effect of the orthomosaic and 3D model.
Remember that DJI doesn’t rename your images according to your flight plan, so on the SD card you will see all the images named in order. Sorting out images from the flight your want to process and coping them to a separate folder will help you in the next steps.
6. Upload your images for processing
Ok. Now it’s time to upload your data. To do that you need to go to datamapper.com and create an account. You don’t need to give your credit card details and the first month is for free.
Go to Surveys and select Upload Survey.
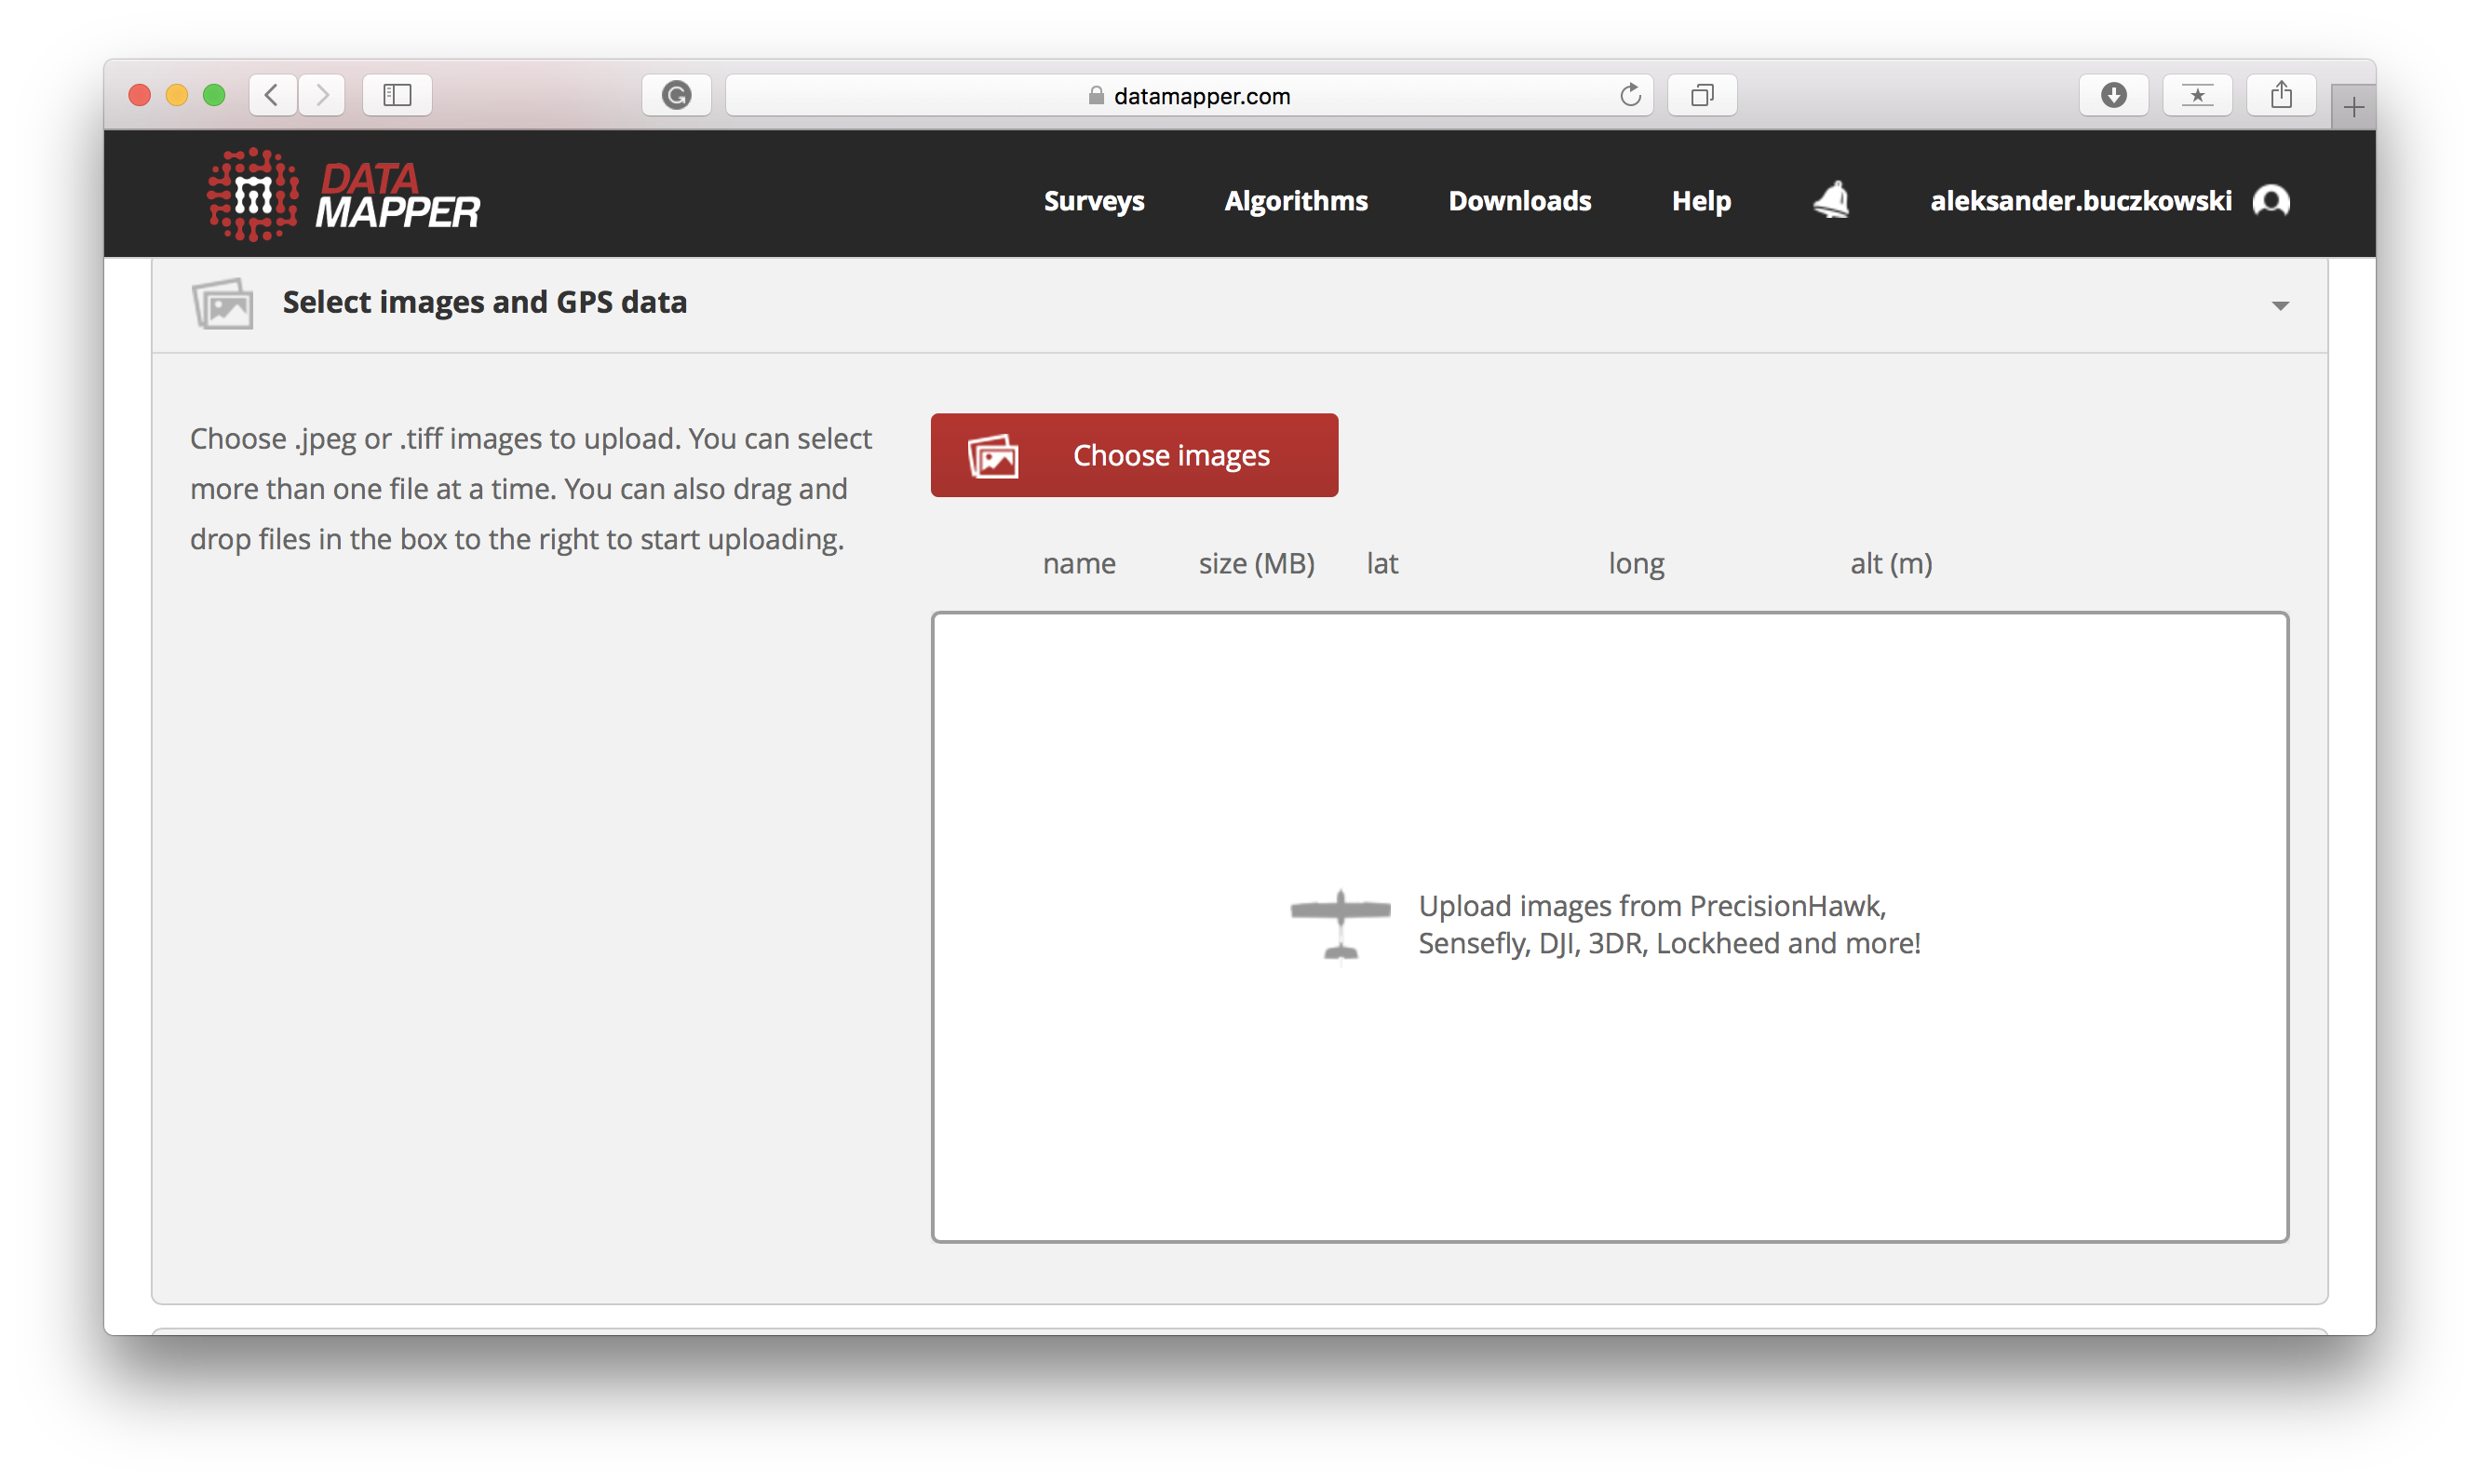
Now select images you want to upload: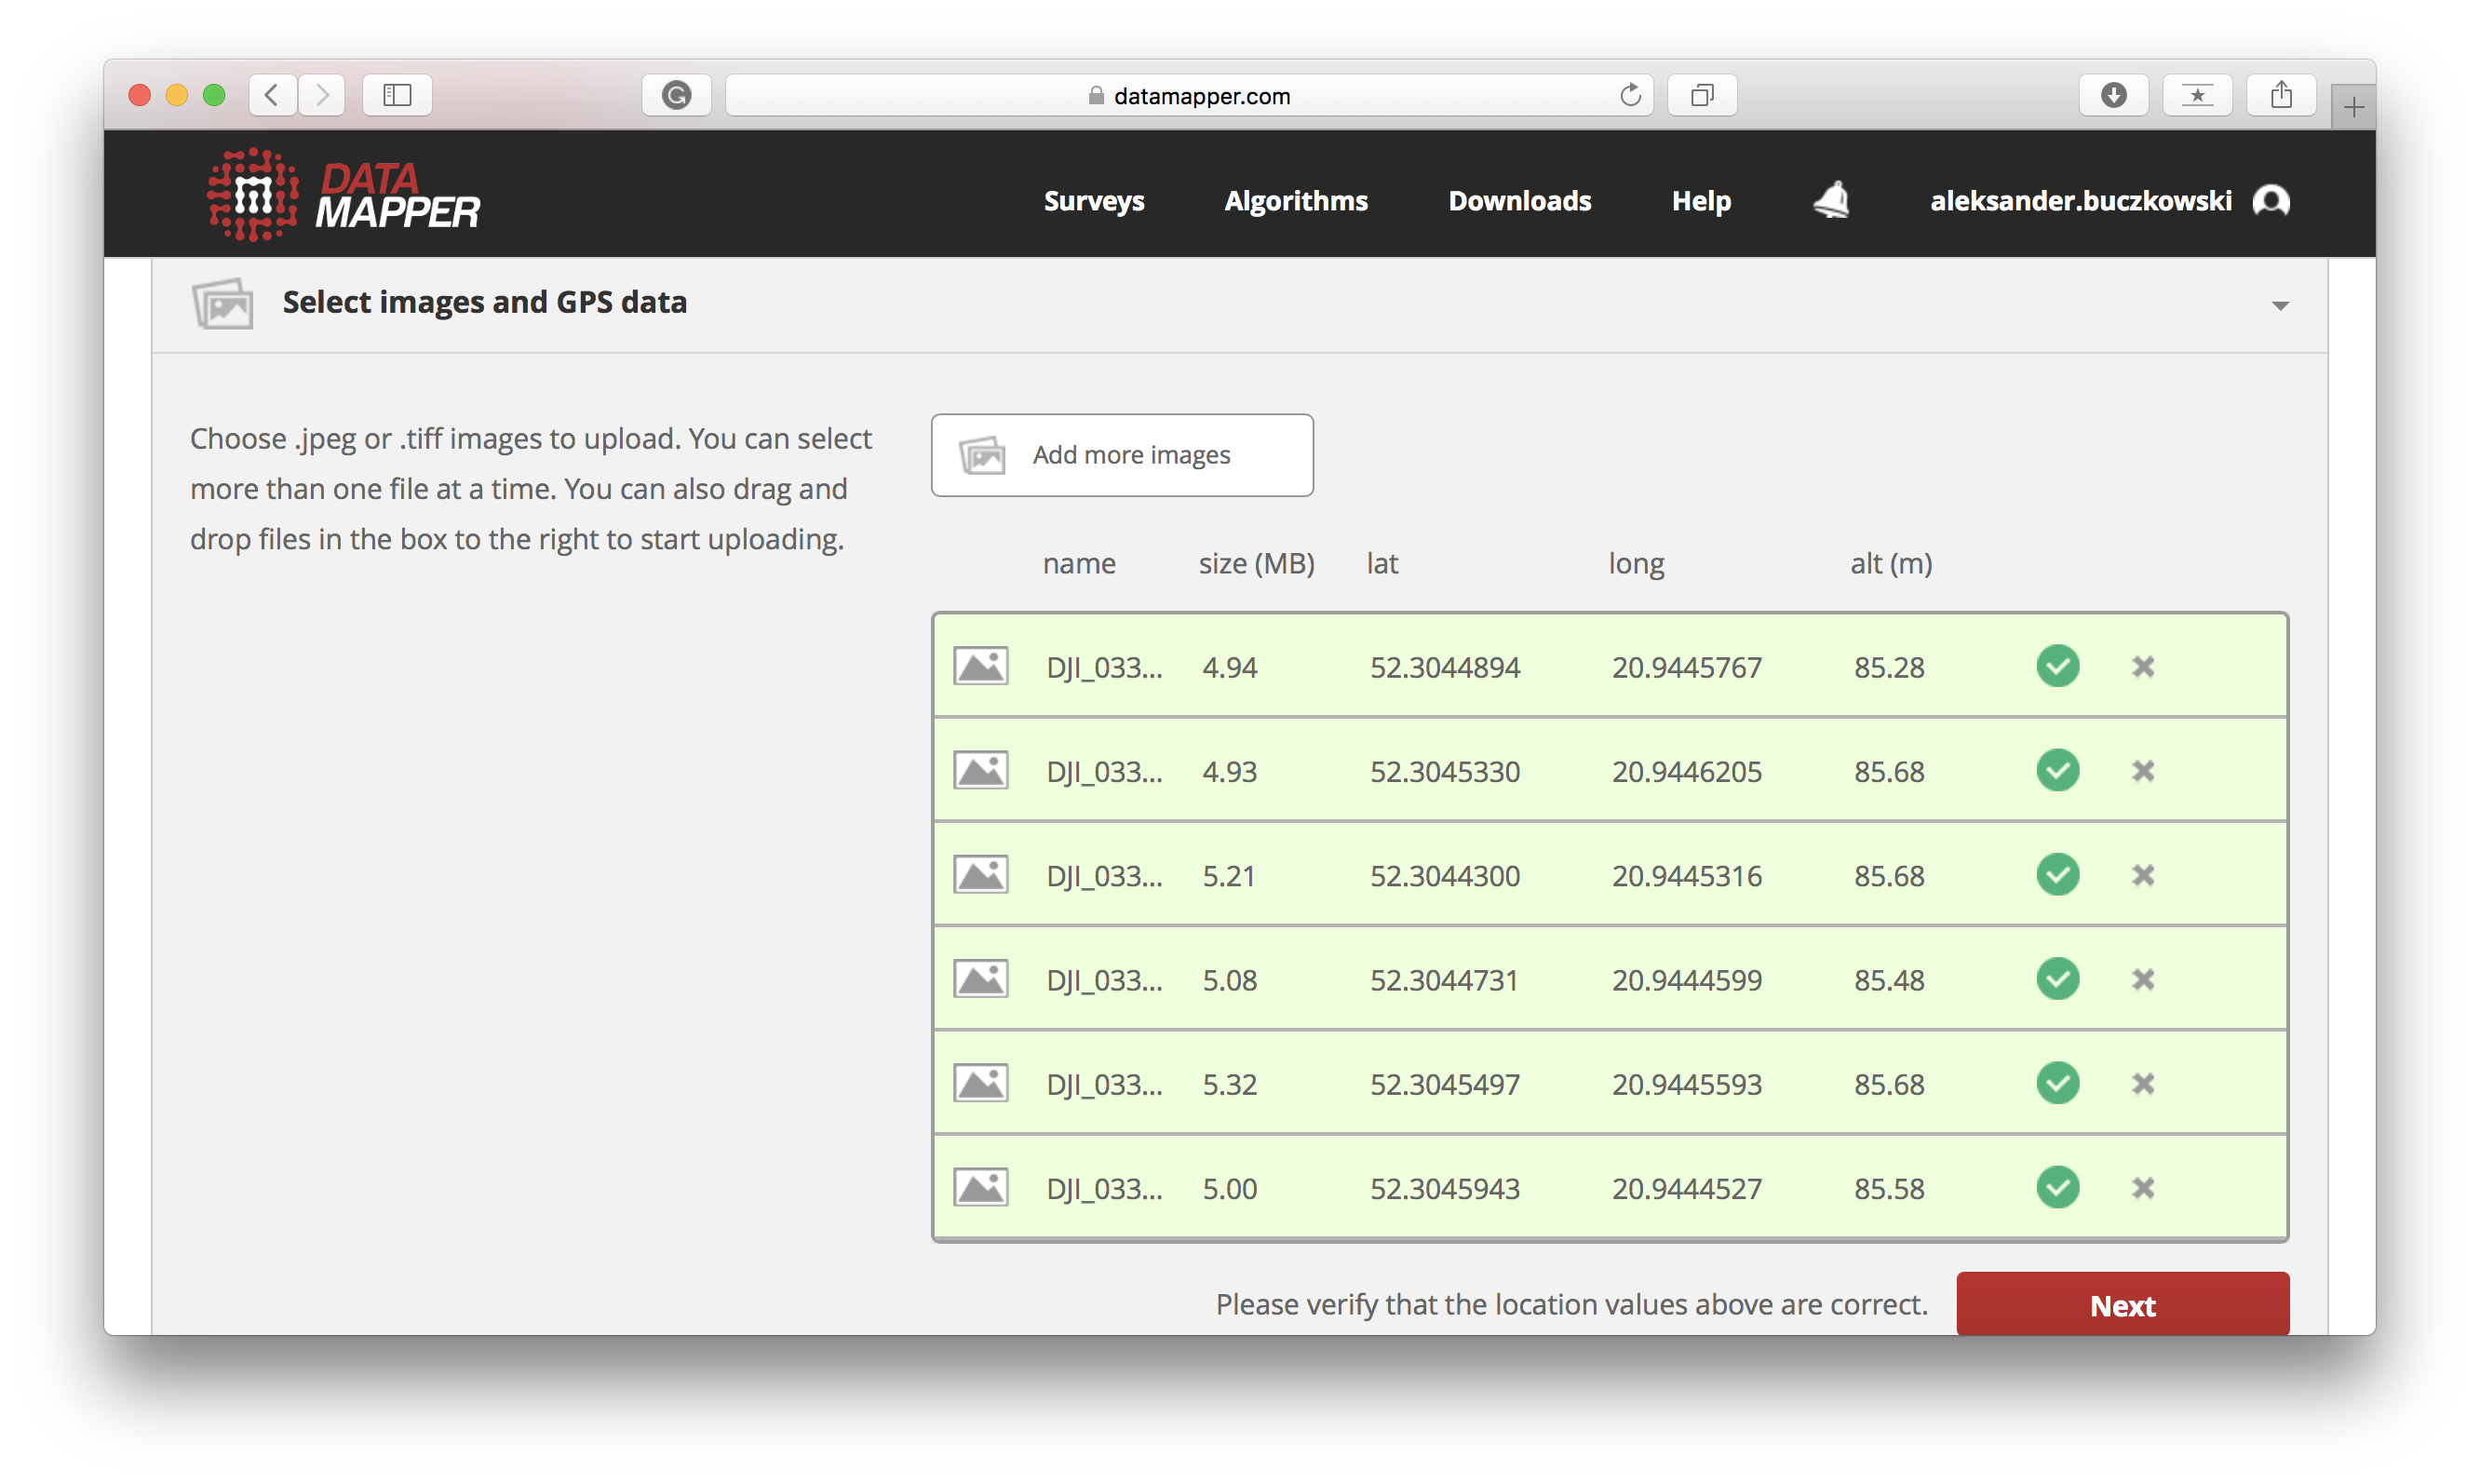
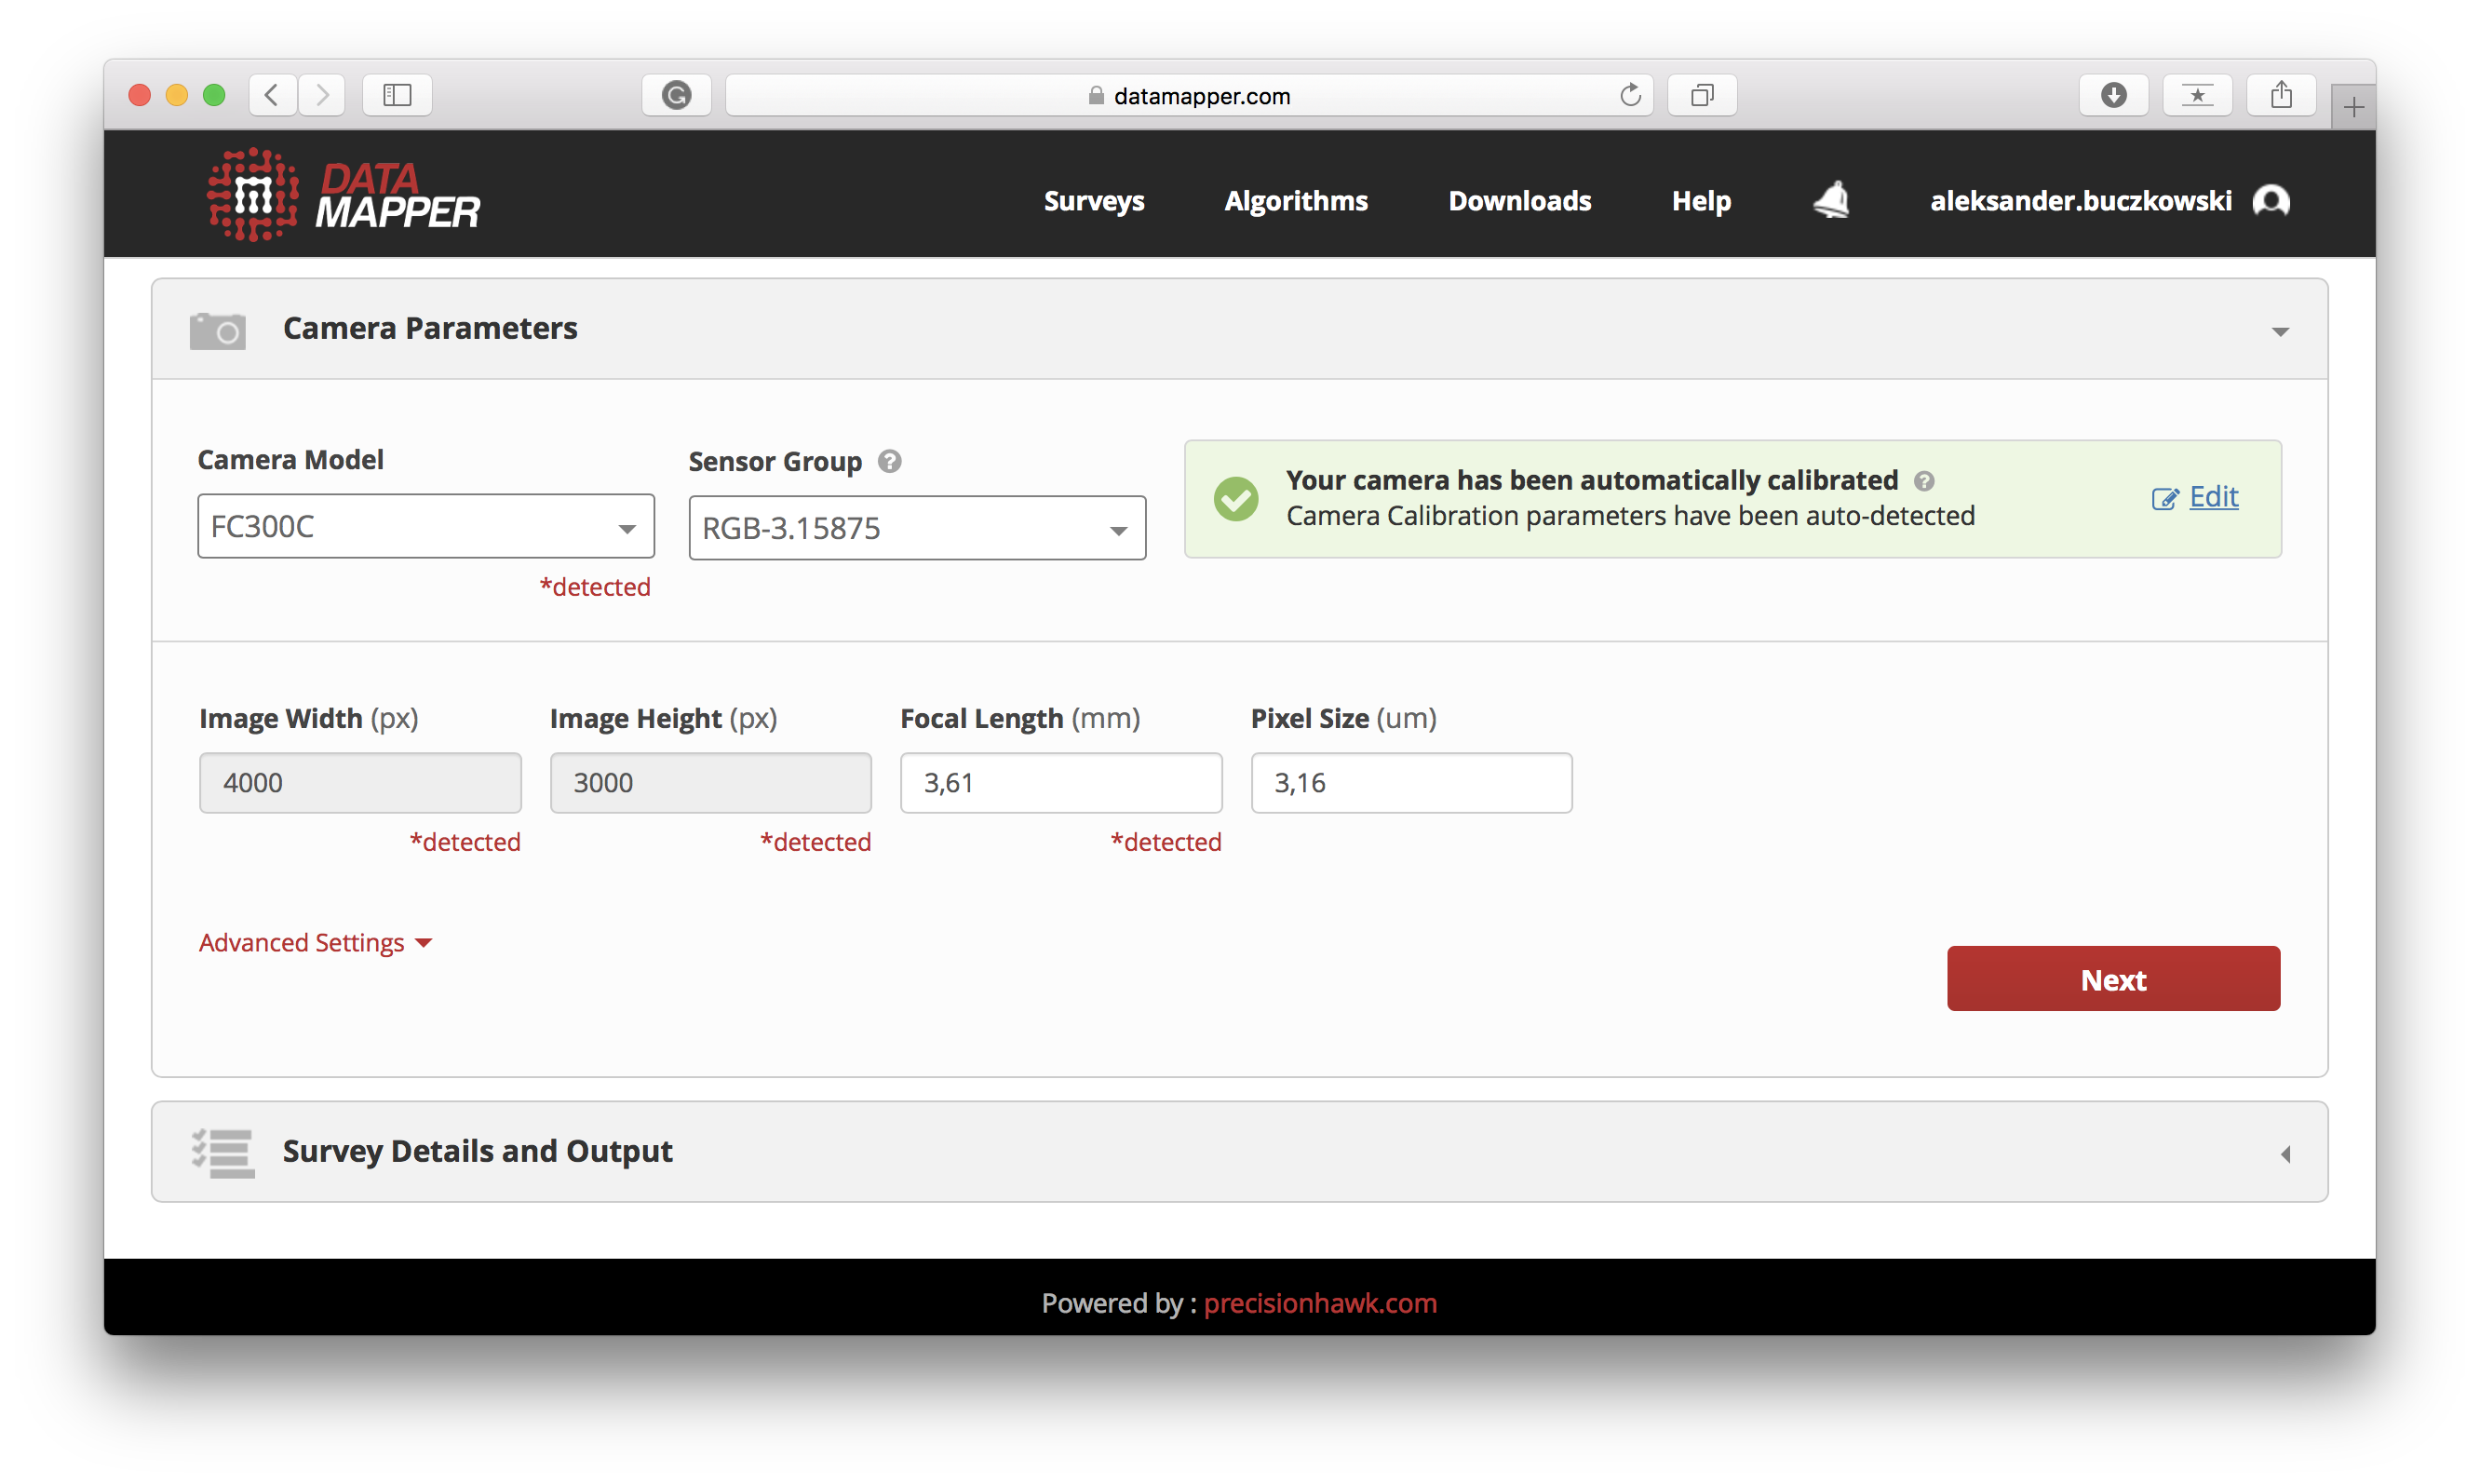
you will also be asked to fill in the camera details, but it will be imported automatically from metadata of images:
and select the output:
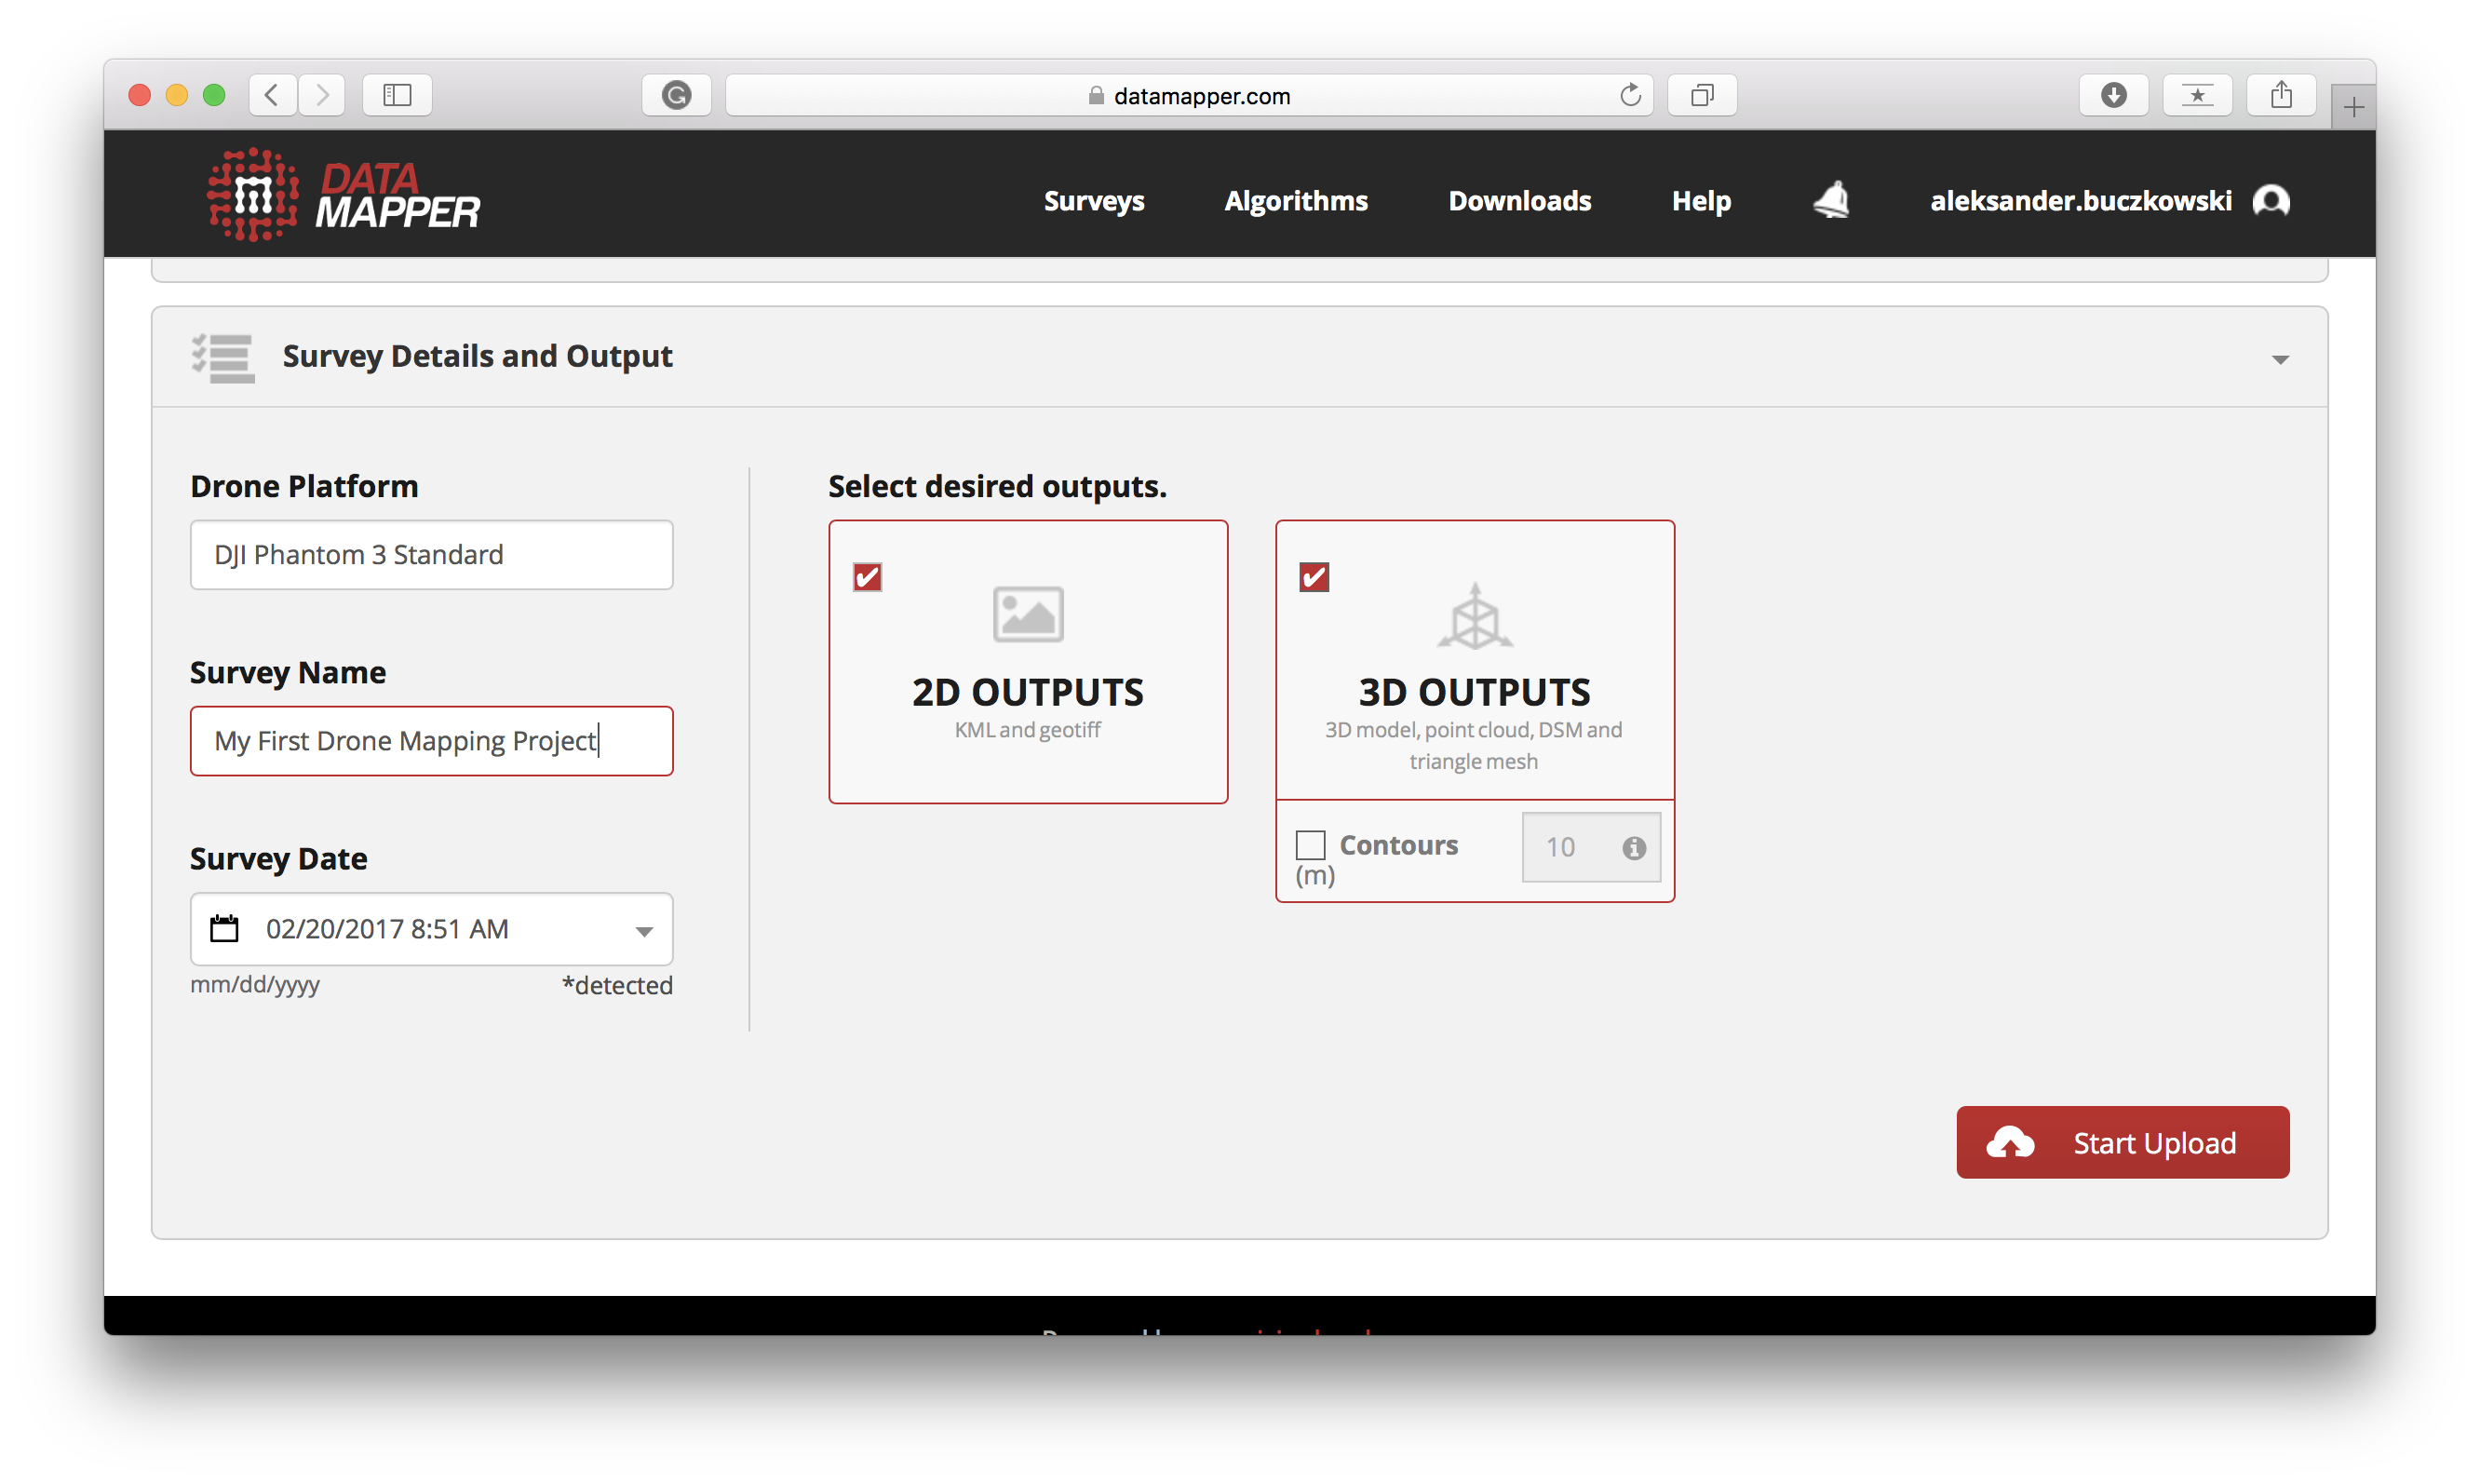
The output can be a flat areal image of the mapped area called “orthomosaic” or a 3D point cloud. Uploading your images might take a couple of minutes, and then the data needs to be processed. The processing status bar is showed on the website, and the process might take from a few minutes to a couple of hours depending on the scope of your project.
7. Enjoy and share your project
Once the processing is completed, you will receive an email, and the last thing to do is to enjoy your first mapping project!
Here is the Orthomosaic of the structure I’ve mapped:
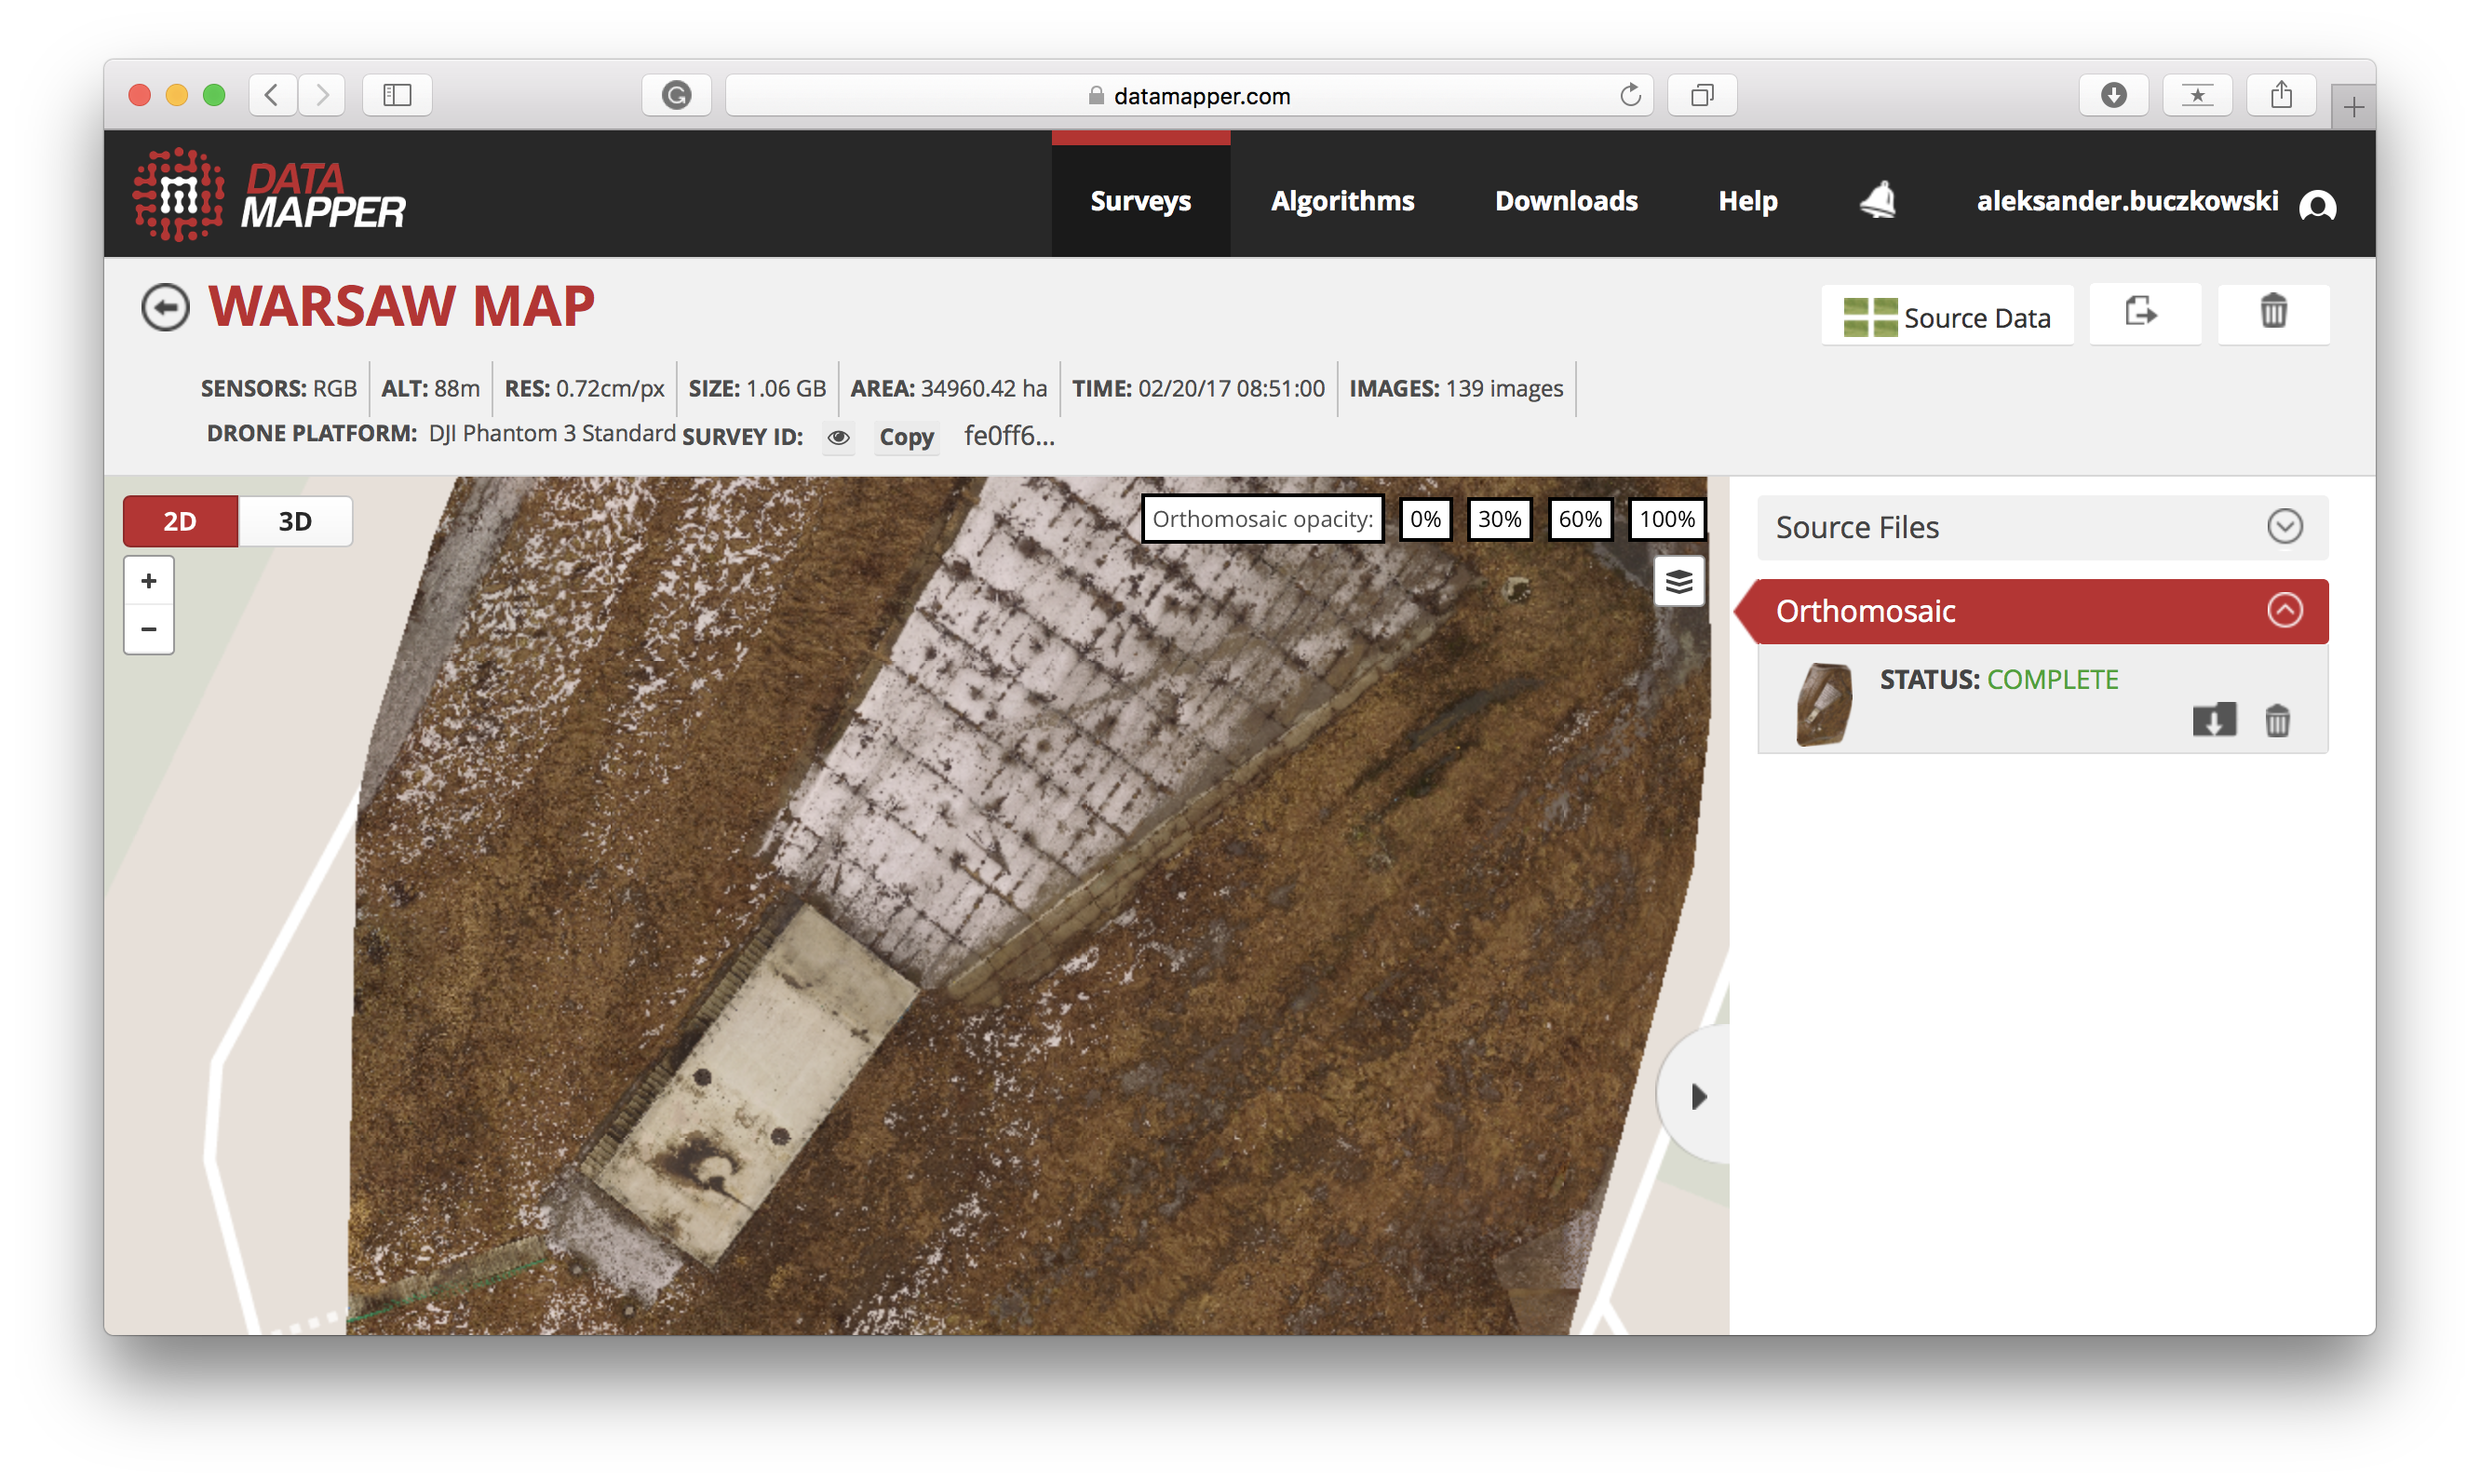
The level of detail is impressive.

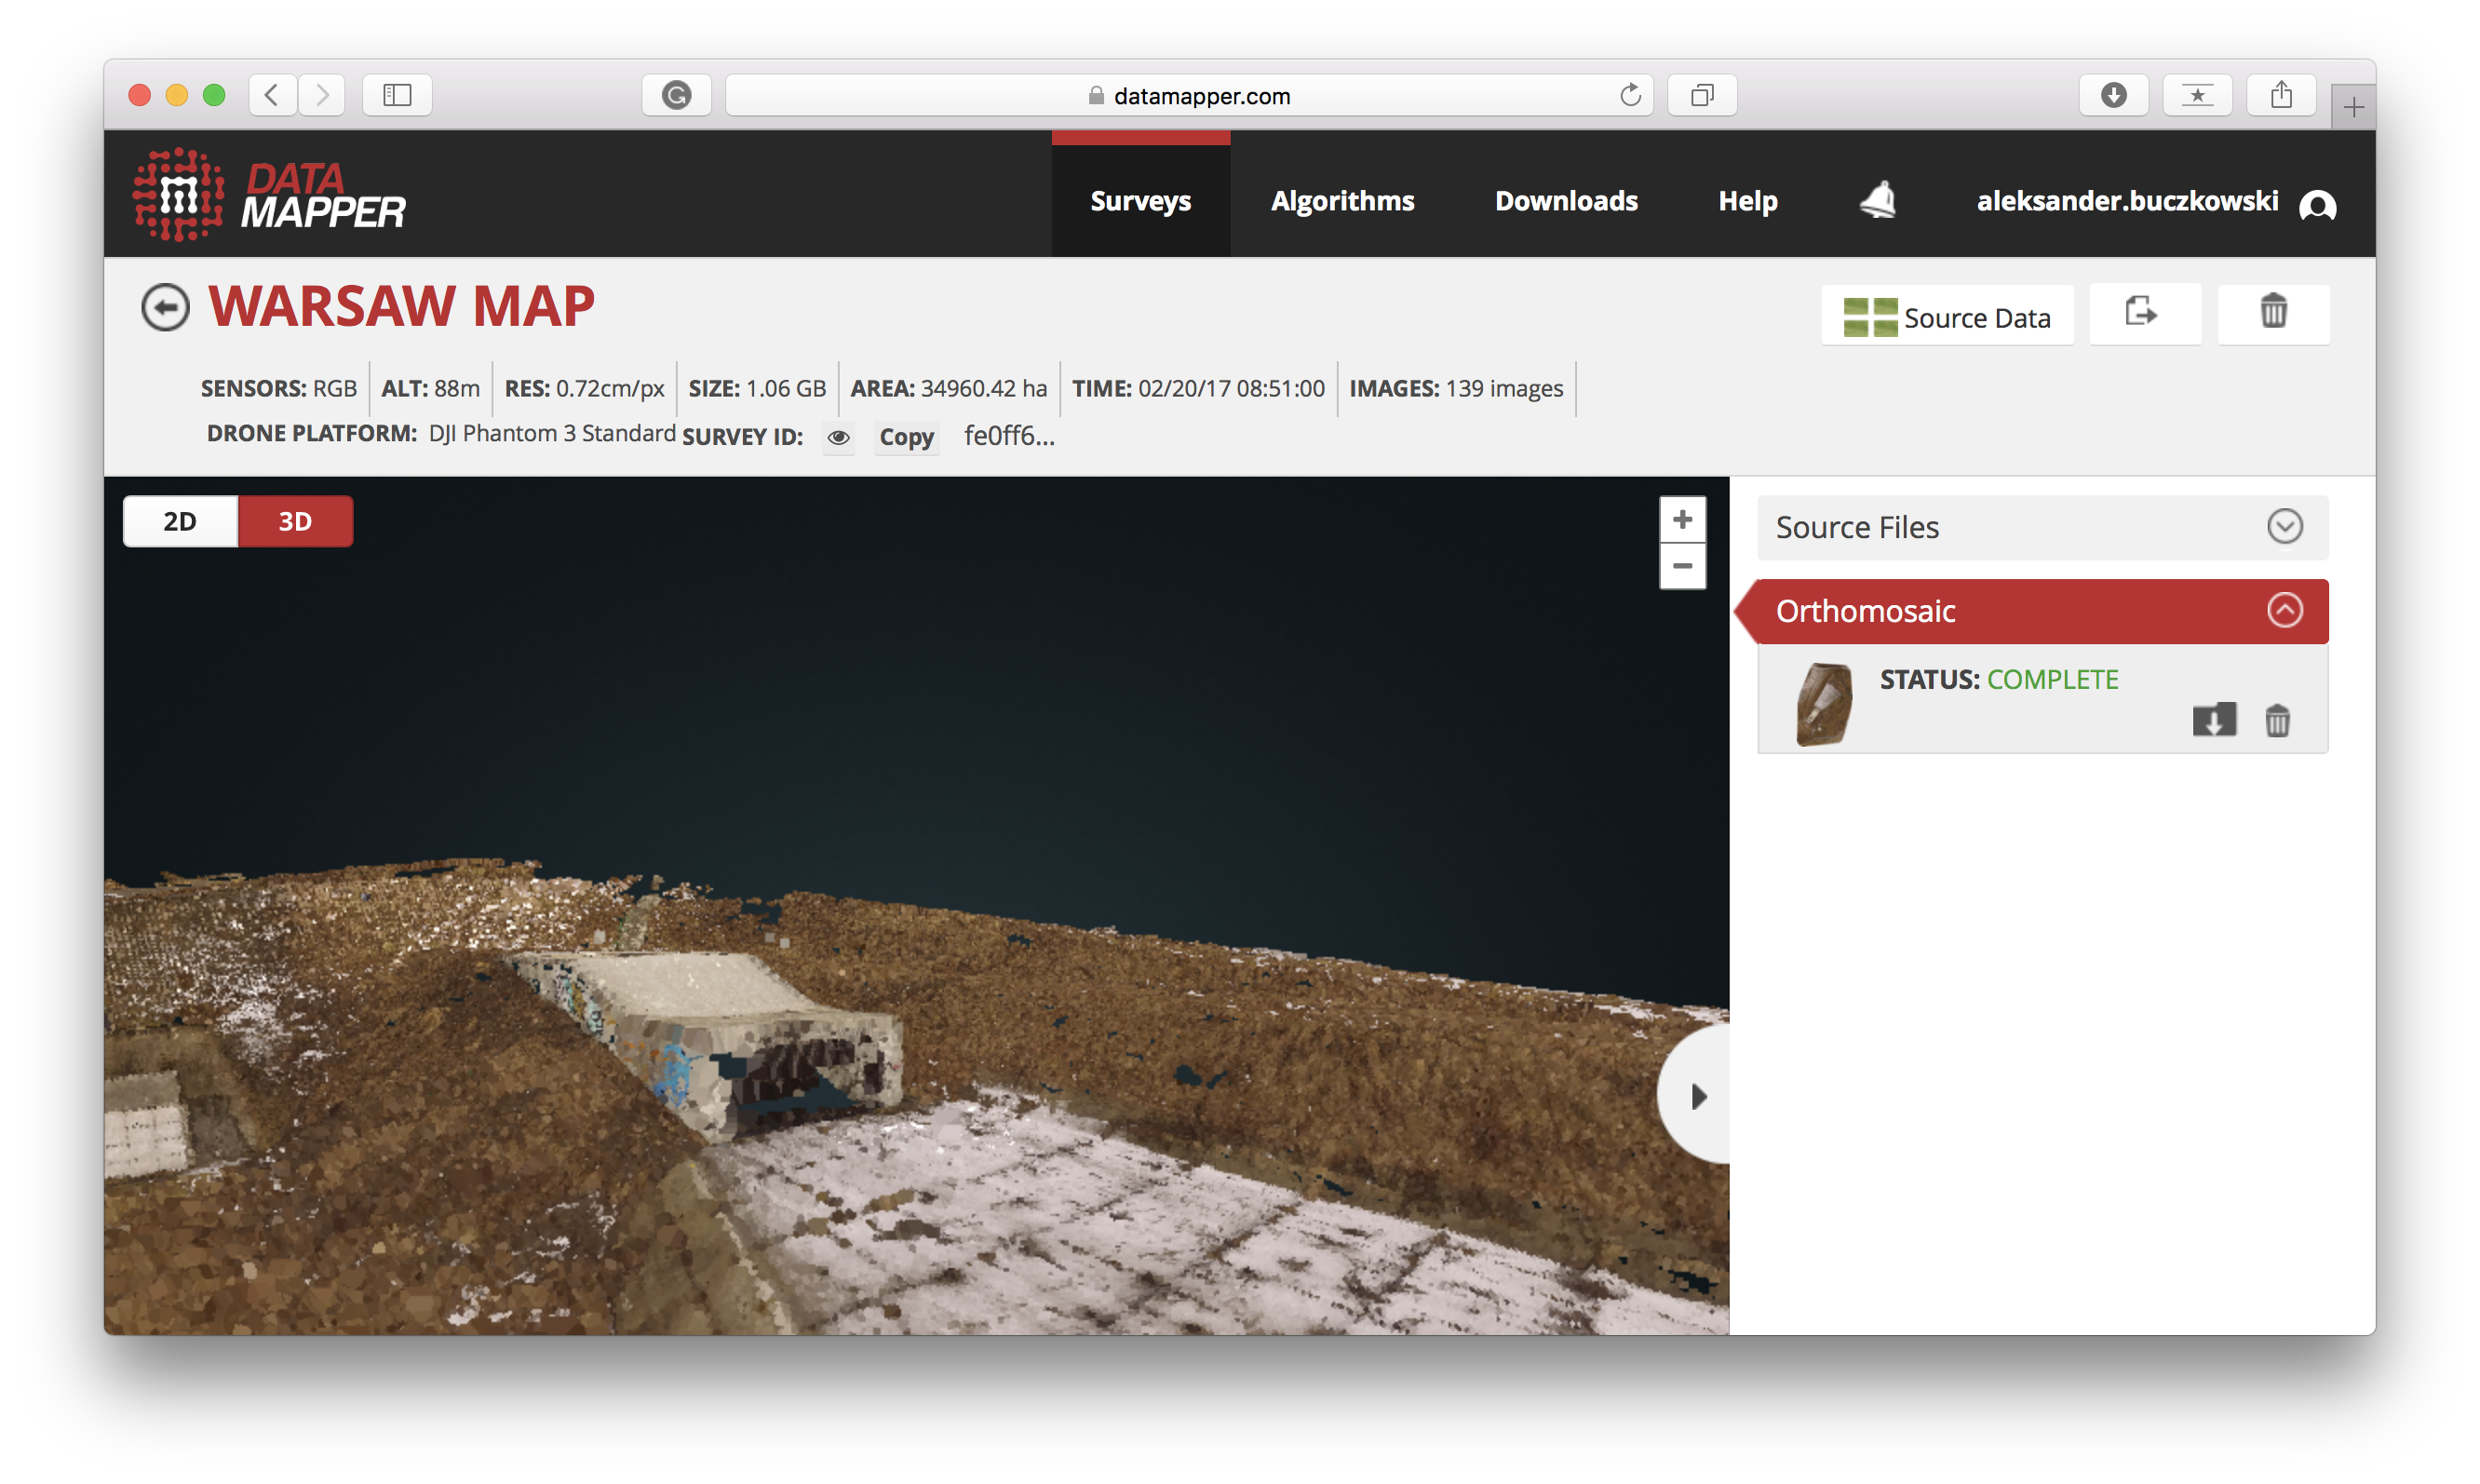
You can switch to 3D view and play around with a 3D could point of the surveyed area.
Overall the basic drone mapping project is not a very complicated process, and you can easy try it yourself! It’s a lot of fun, and the effects are amazing. After your first project, you will realize where this whole drone mapping hype comes from.
Stay tuned! We will soon move to more advanced stuff and review more drone mapping apps.
Now read:
How accurate is your drone survey? Everything you need to know.

#Business

Next article

This post was written by Saskia Schneider from the Communications team at HERE and is based on content from the full trends report, which was researched and authored by HERE’s Design Forward team.
 The Design Forward team at HERE have once again been looking into a variety of industries and identified patterns to predict location trends for 2017. The team focuses on cross-industry research, including markets outside of HERE’s current business areas. By attending relevant trade shows, conferences, and events first-hand, they look at changes affecting people’s lives and make speculative guesses about the future as well as the role location could play in these scenarios. The goal is to trigger innovative ideas for location technology development. This year, six have made the list:
#1: Location Intelligence (L.I.) for an autonomous world
Thanks to highly automated and accurate analyses of large sets of data, we are better equipped than ever to simulate and predict situations to determine a favorable outcome. In Reykjavik, for example, traffic lights now automatically turn green for emergency and public transportation vehicles, and Rob van der Burg is developing cybernetic plants called “Nova Eden” that have the power to move to a sunnier spot at will—without the help of humans. Pretty cool, but without L.I., most autonomous innovations wouldn’t get very far.
#2: Digital and physical merge
Imagine a world in which robots and humans aren’t distinguishable by looks, speech, or even intelligence. Cyberpunk would become reality. We’re not quite there yet, but it’s clear that it’s the future we’re working towards. As artificial intelligence becomes increasingly humanized, humans become increasingly digitalized, and it will be up to us to find the right balance between the two. With location technology being at the core of this merge, HERE will play a key role in making sure we won’t wake up in our own Matrix one day.
#3: The era of holistic experiences
It’s been five years since The Atlantic’s article “The Cheapest Generation: Why Millennials aren’t buying cars or houses, and what that means for the economy,” but the trend of sharing things has only continued to grow. We no longer buy cars or stay loyal to brands, we buy and consume experiences. More and more touchpoints emerge between sectors that have traditionally been separate, bringing a new set of opportunities—all powered by location: autonomous cars as offices on-the-move, machines in charge of agricultural fields, and drones as mail carriers delivering to previously inaccessible areas.
#4: Hyper-mobile society
Maybe one of the reasons we no longer aim to own but to share is our everlasting thirst for adventure. We’re never somewhere and always everywhere—we’re hyper-mobile. Digitalization has created a world in which physical borders play less and less of a role, inspiring products, services, and institutions to follow suit by offering mobile features: backpacks that power digital devices, beds that can be built anywhere, and governments that don’t require residents to stay within physical borders.
#5: (Re-)Distribution of resources
It’s no secret that the world’s need for resources will continue to grow in the years to come. A highly flexible and autonomous society requires massive amounts of energy to function. These resources will need to be less centralized to ensure a consistent supply everywhere and at any time. Using the power of location, we can help build smarter cities and environments that will better (re-)distribute resources.
#6: Aspirations in algorithms
In many aspects of life, sophisticated algorithms have changed things for the better. We now have safer roads through analyzing and rewarding good road behavior and more efficient healthcare software that can create highly personalized diagnoses and treatments. But these advancements come at a price: We pay them with massive amounts of data and potentially risk loss of privacy. Ethics and social responsibility will thus play an even greater role in the future.
To get more details about the findings of HERE’s Design Forward team, check out the full disclosure of this year’s location trends on HERE 360.